If you are using QuickBooks Pro for Mac or Windows, go to Banking then Reconcile and select the bank account you are looking to reconcile from the dropdown menu. (If you are using QuickBooks Online, click on the gear icon at top right of screen where your company name is, then Reconcile and select the bank account from the dropdown menu).
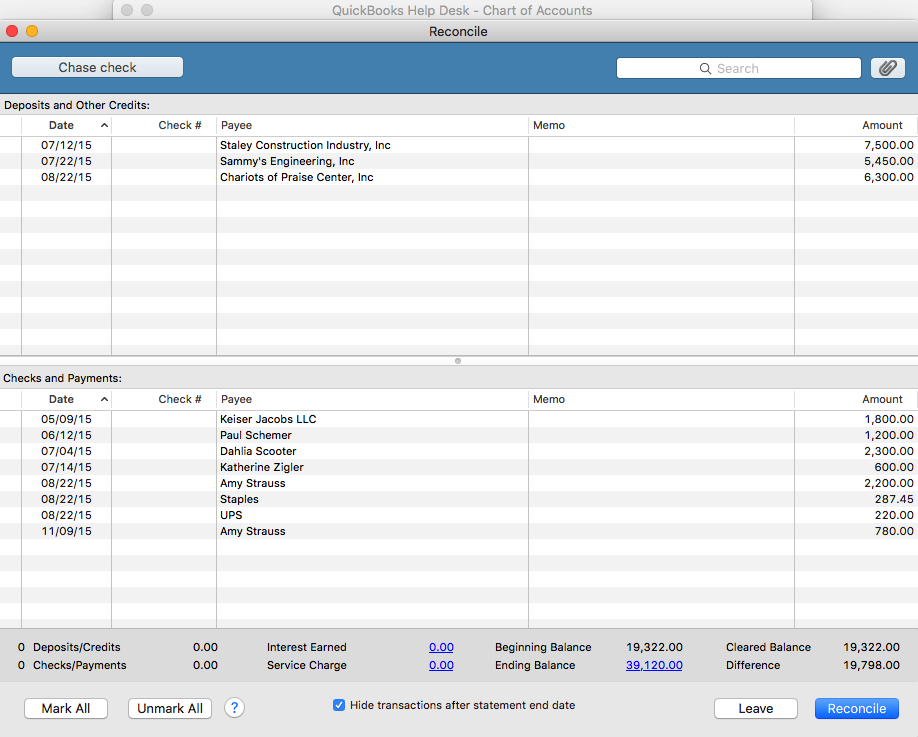
Next, enter the statement ending date and the statement ending balance, and the bank service charge and interest earned – if any. The beginning balance should be the same as the beginning balance on the statement. If it is the same, click ok and start your reconciliation process. Click on each item that matches with the same item on the statement for both debits and credits. You may also check the button that says, “Hide transactions after statement end date” then select “Mark All”.
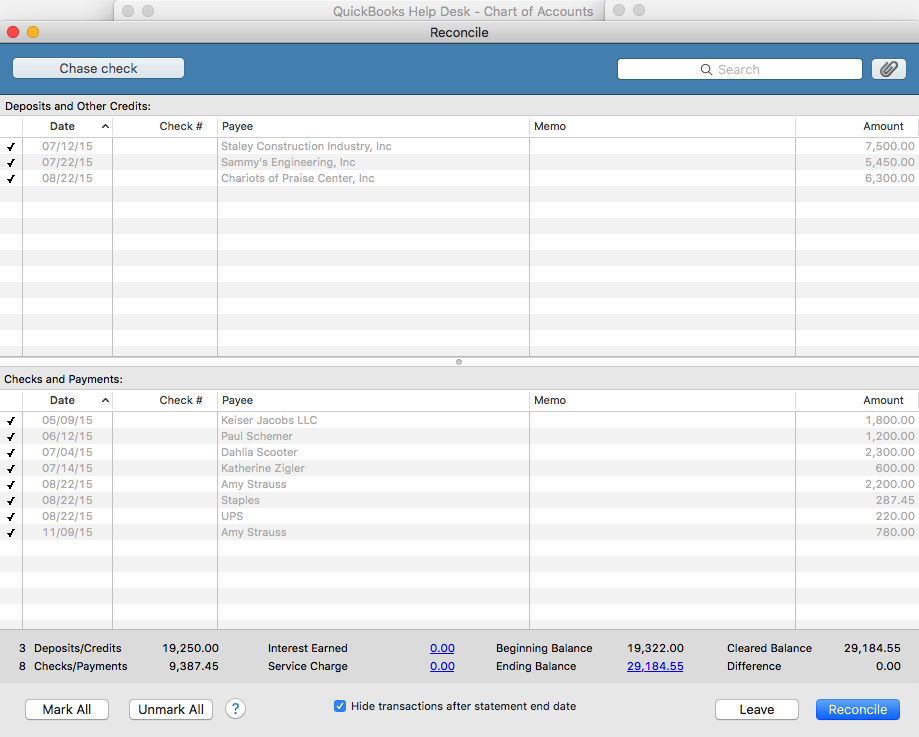
When your account is reconciled, there should not be a difference. The amount at the “Difference” button should show $0.00. If it shows a balance, it means that there is a discrepancy, and you will need to go over each transaction to locate the discrepancy. The difference could be one or more transactions that are entered with the incorrect amount such as $2,900 entered as $2,090, or a transaction entered on the debit side when it should have been on the credit side – and vice versa.
Also, a good thing to do at this point, is to double check to ensure the beginning and ending balance in the reconcile window matches with the beginning and ending balances on the bank statement. You may click the “Unmark All” button so you can mark them individually as you cross check each item with your statement.
If you recognize the transaction that is causing the discrepancy, and feel that you have already entered it, use the “Find” feature to try and locate it. Go to Edit then Find and search for the amount. It may have been mistakenly entered with the wrong date and thus hiding in another month or period.
If you previously did a reconciliation and it was accurate, and now you want to continue reconciling current months but the beginning balance is off, click on the “Discrepancy Report” button to see what transactions were changed since your last reconciliation. If it was deleted, you will need to reenter it. If it was unchecked in the register – which makes it un-reconciled, you will need to recheck it in the register. After doing so, your beginning balance will be back on par with your statement again.
TIP:
I highly recommend using the “Download Transactions” feature in QuickBooks. Not only will it save you time entering data, but it will help you to avoid entering incorrect transaction amounts as well as making incorrect debit or credit entries.

Recent Comments